
When you travel, there can be a lot of information to keep track of. The free TripIt app is one convenient way you can organise your documents and details so that you have all information together.
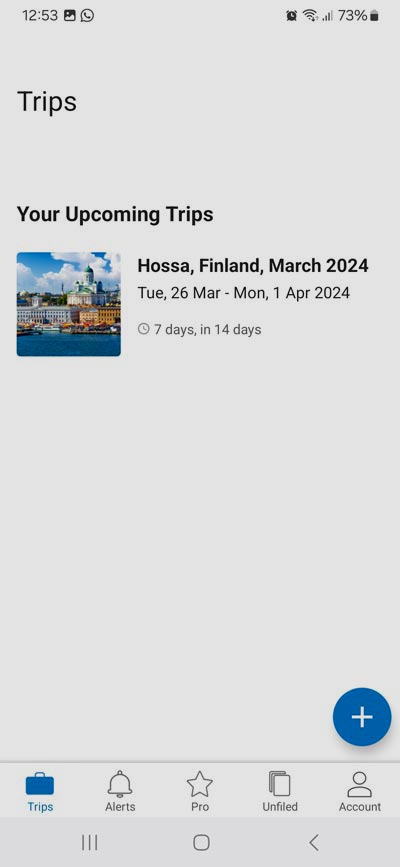
In the TripIt app, you can create a trip and then enter/upload the information and documents you need, such as:
- Travel information, including flight details and tickets.
- Booking details for extra hotel nights you may have arranged in connection with your trip.
- The PDF documents you receive from Nature Travels for your experience with us.
Once you’ve uploaded the documents you need, you can access your trip information and documents offline at any time in the app.
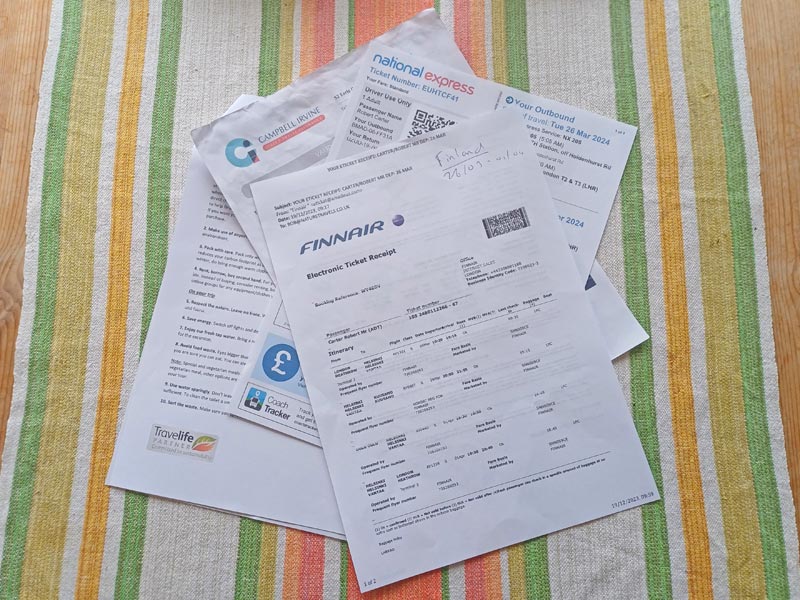
When you make a booking with Nature Travels, you will receive at least two PDF documents by email:
- Booking Confirmation: This will show what you have booked, including the number of persons, your tour dates, any optional extras you have chosen, the amount you have paid so far, and any payment amount that is still outstanding along with the date the balance payment is due.
- Info file: This will contain practical information for your experience, including contact details for your local hosts in the destination country (in case you need to call them on your arrival day if you are delayed, etc), a recommended packing list, a list of what is included as standard, and FAQs answering the most common questions you may have.
Depending on the experience you have booked and when you made your booking, you may also receive some additional PDF documents by email:
- Confirmation of Full Payment: If you only paid a deposit when you booked (if you booked more than 60 days before the start of your trip), you will receive this document when you make your balance payment (due 60 days before the start of your trip). At the same time, we’ll also send you another copy of the “Info” file. Some details in the “Info” file might have changed since the earlier version, so it’s always a good idea to refer to this latest document.
- Tour Description documents: Some of our experiences, such as some of our canoeing or timber rafting tours, will have detailed route description documents that you will need to have with you for your tour. You will receive these documents when you make full payment for your tour (so they will either be sent with your Booking Confirmation or Confirmation of Full Payment emails, depending on whether you paid deposit only or made full payment at time of booking).
Uploading these documents to the TripIt app, together with your flight and other travel documents and any other information you would like to add, is a convenient way to make sure you have all the information you need with you.
How to Use the TripIt App:
NB: The free version of the TripIt app only allows you to upload three documents per trip. If you need more but don’t want to upgrade, you can get around this by dividing your overall trip into separate TripIt “trips”. For example, you could have one “trip” titled “Travel to Kiruna”, where you keep your bus ticket to the airport, flight ticket and train ticket for travel in Sweden, and a second “trip” titled “Discover Dog Sledding in Lapland”, where you store the documents you have received from Nature Travels for your experience.
Step 1 – Download the TripIt app
Search the App Store or Google Play for the “TripIt: Travel Planner” app.
Step 2 – Create an account
When you log in to the app, it will ask to you create an account with your email address and a password.
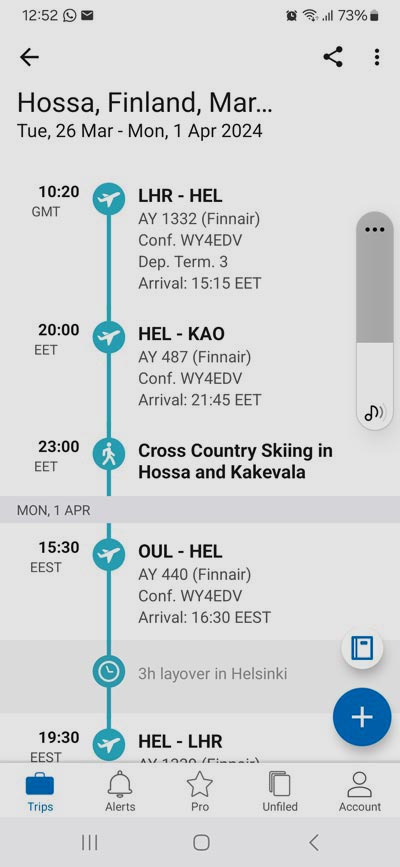
Step 3 – Add trip documents and itinerary information
How you do this depends on the type of document/information you need to add.
Flight, train or hotel bookings: If you have received a confirmation email for your flight or other online booking, simply forward the mail (make sure you send it from the mail address that you use to register for your TripIt account) to plans@tripit.com
As if by magic, the system should then add the itinerary information to the app for you a few seconds later.
NB: If your confirmation document contains an attachment, such as a PDF for your flight ticket, this will not be added. You should add the document manually as described below.
NB: This doesn’t work for all types of booking – for example, when testing the app, we found that it recognised flight details from a confirmation mail from Finnair without problems, but would not recognise the confirmation of a National Express coach booking. If the system cannot automatically process the information in the mail you send, you will receive a “there was a problem with your submission” email, and the information will not be added to your itinerary in the app. Instead, the contents of the email will be added as an “Unfiled” document in the app. You can then go in and assign that information to a particular trip and classify it under a category such as “transportation” or “note”.
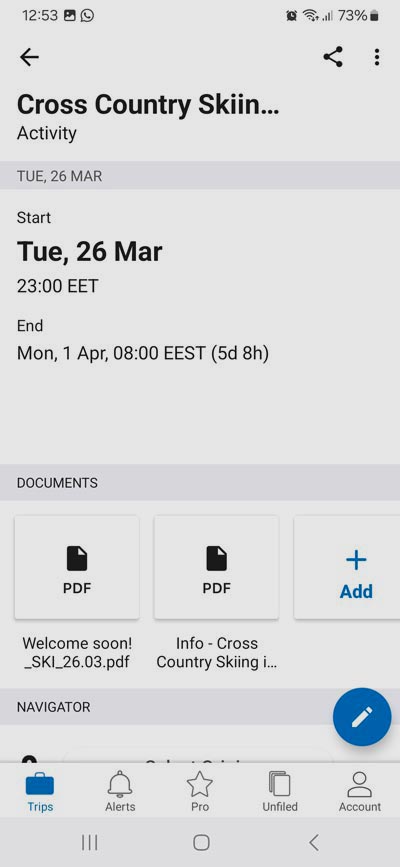
Nature Travels PDF files or other documents: Once you have a trip set up in the app (created, for example, from auto-adding flight information as above), you can add extra components to it. For example, to add your tour with Nature Travels:
Click + to Add Plan.
- Choose “Activity” and enter whatever details of the activity you wish (for example: “Event Name: Discover Dog Sledding in Lapland”; Start 24 March 2024 Start Time 15.00; End 27 March 2025 End Time 10.00″).
- When you’ve created the activity, it will appear in your itinerary (where in the itinerary it appears depends on what start/end date/time information you have entered).
- Click on the activity in the itinerary and then under “Documents”, click “+ Add” to upload documents from your phone to the app. Here you can collect all the PDF documents you have received from us:
– Your Booking Confirmation (and Confirmation of Full Payment if you have one).
– The Info file for your tour.
– Any additional route description or other documents that you receive. - You can also set up a PIN-protected area to store sensitive information or documents.
That’s it! There are many more features of the app that you can discover, but the steps above will allow you to save the basic documents and information for your tour for easy access when you are travelling.
Remember: When using this or any other automated process or technological tool, check the details yourself carefully to make sure everything is correct – don’t miss your flight because the app has interpreted a time or date incorrectly or is displaying information in a different time zone! 🙂
Happy travels!